Programming/WEB
[5] Javascript 기초 : jQuery 문법
알 수 없는 사용자
2023. 7. 14. 19:21
1. Javascript, jQuery, Fetch란
더보기
- Javascript : 웹페이지가 특정 상황에 따라 동적으로 작동할 수 있도록 해주는 언어
- jQuery : 웹사이트에 자바스크립트를 쉽게 활용할 수 있도록 도와주는 라이브러리
jQuery를 임포트하려면 아래 코드를 head 태그 안에 넣어준다.
<script src="https://ajax.googleapis.com/ajax/libs/jquery/3.5.1/jquery.min.js"></script>- Fetch : 짧은 코드로 서버에 요청을 보내고 데이터를 받아올 수 있다.
2. 자바스크립트와 HTML의 연결
더보기
1) 자바스크립트 위치
- <head></head> 안에 <script> </script>로 작성한다.
- script 태그 안에 자바스크립트를 작성하는 것.
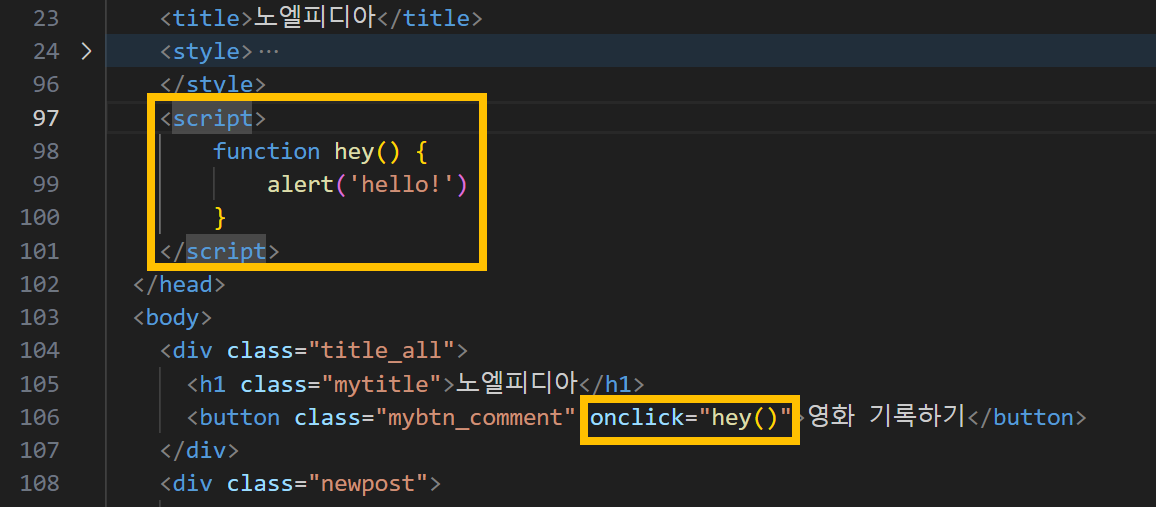
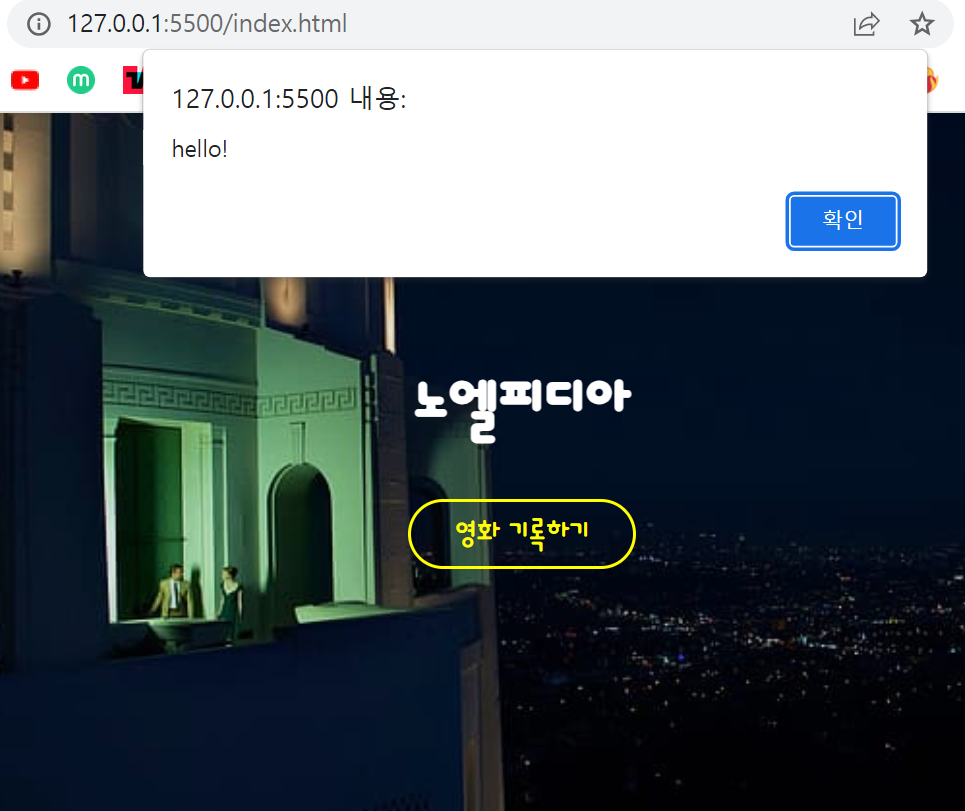
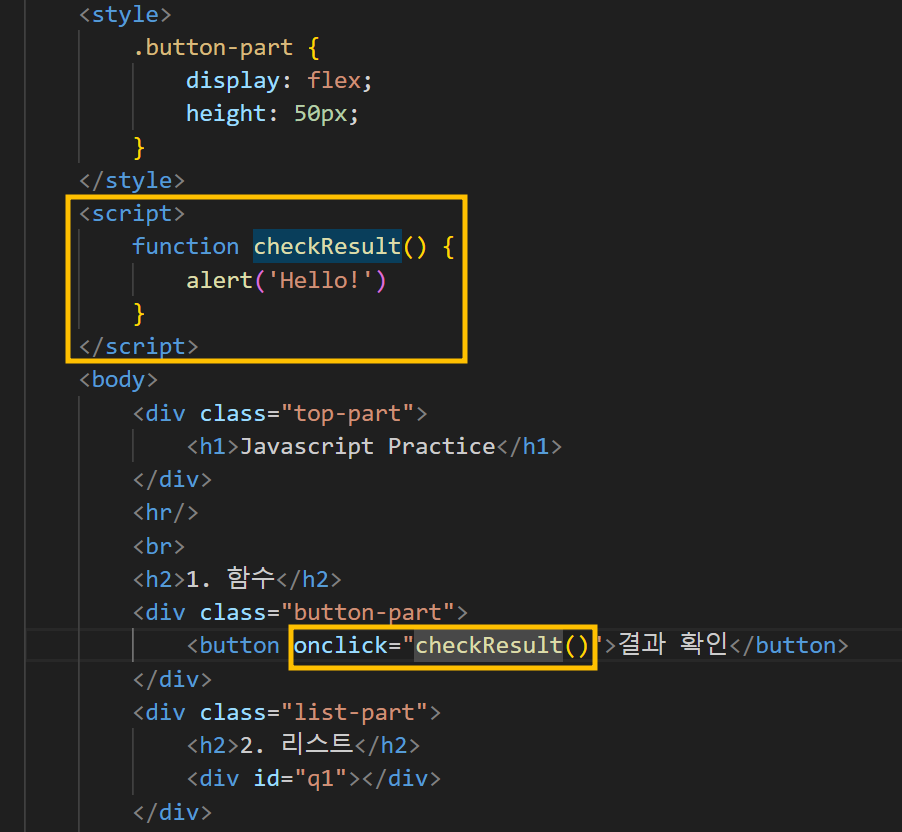
2) 함수 작성해보기
- script 태그 안에 hey() 라는 함수를 정의하고,
- 버튼 태그 안에 onclick="hey()" 함수를 호출했다.
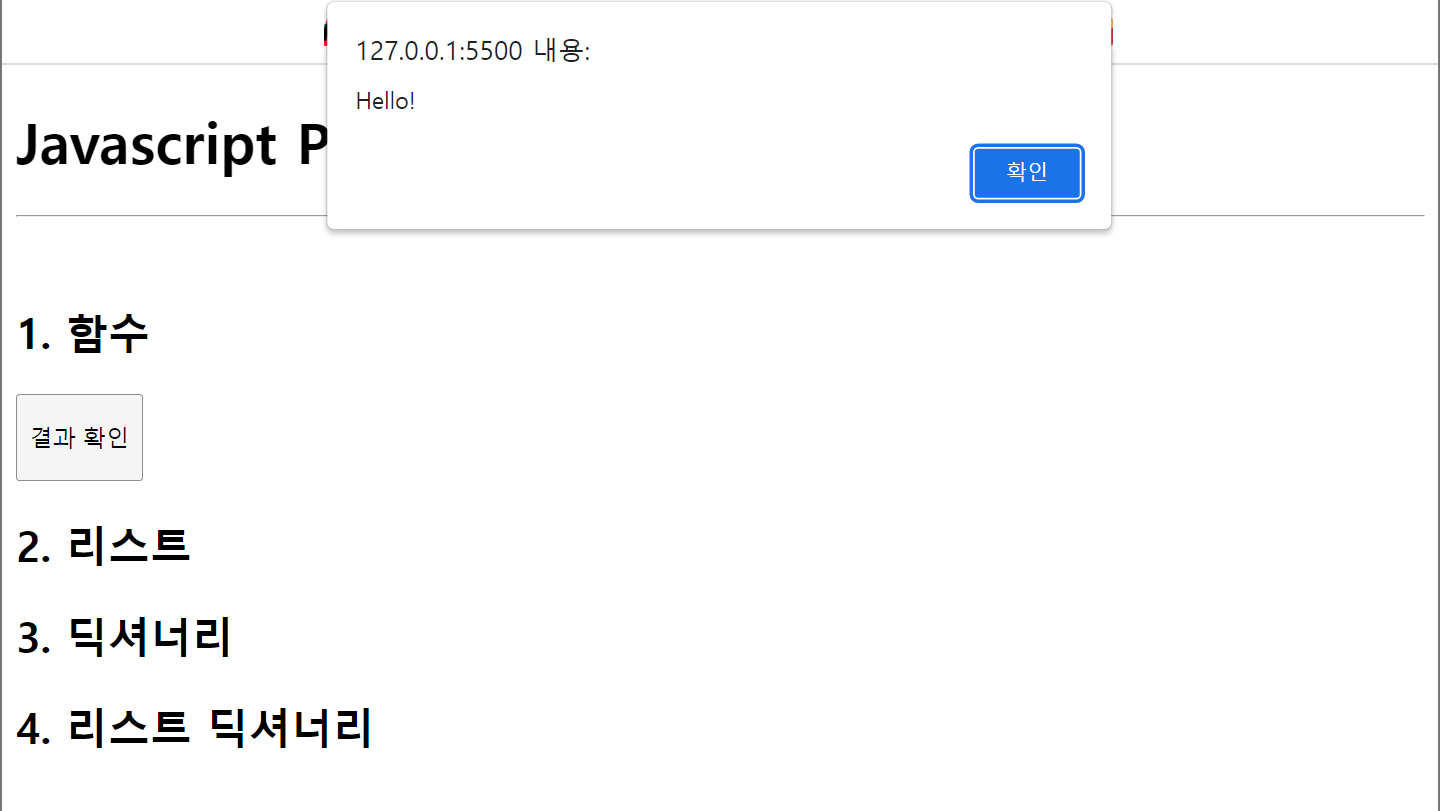
- 페이지에서 버튼을 누르면 alert가 뜨는 걸 볼 수 있다.
3. Javascript 기초 문법
더보기
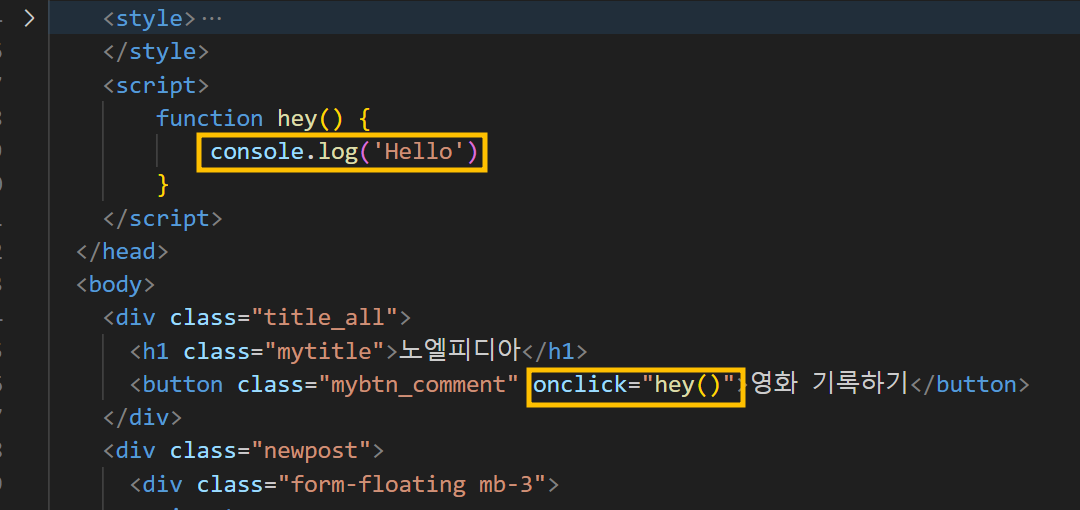
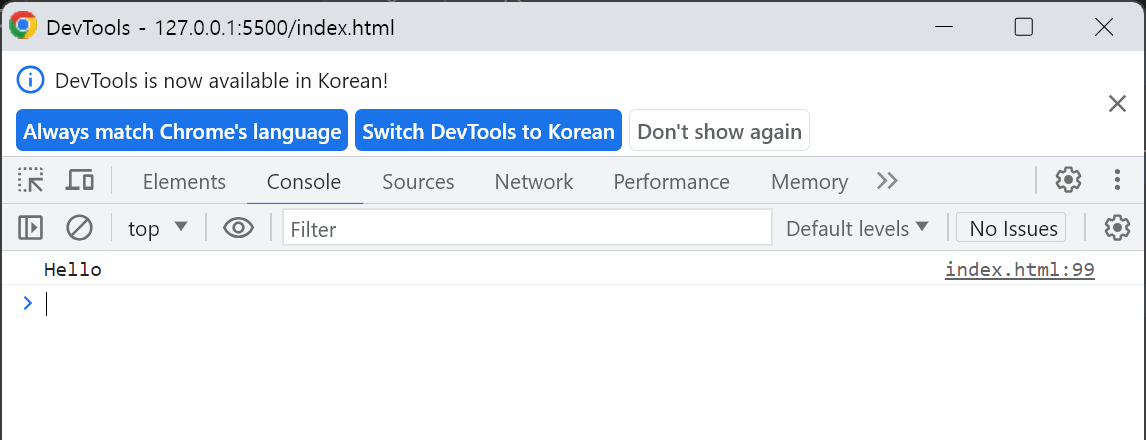
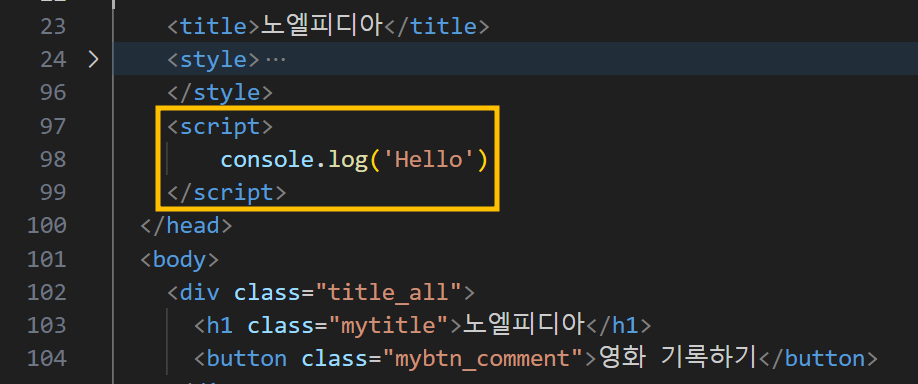

1) console.log('Hello') 활용해보기
- 화면 우클릭 > 검사 > console에서 결과 확인
- 클릭할 때마다 로그가 쌓이는 것을 볼 수 있다.
- Console : 코딩한 것이 올바르게 동작하고 있는지 확인하기 위해 미리 결과를 확인할 수 있는 창
- 아예 그냥 창을 띄우면 console에 로그가 찍히도록 할 수도 있다.
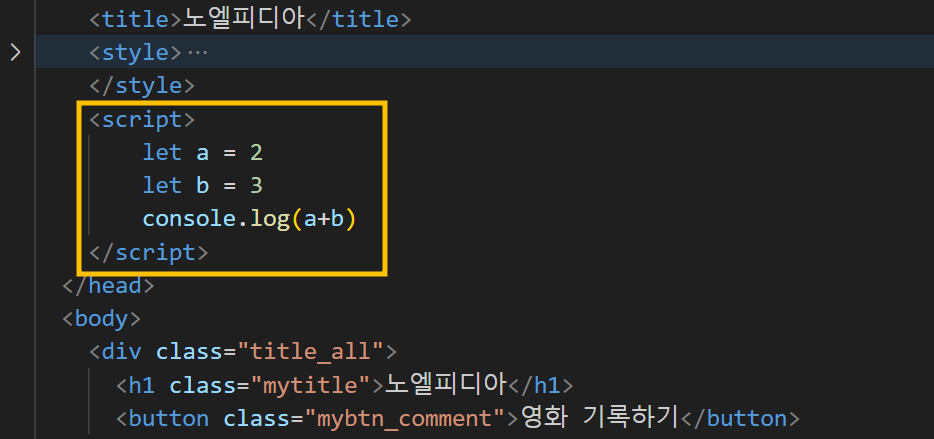
2) 변수, 기본연산
- 변수 선언
let a = 2
a = 'Bob' // 문자열은 작은 따옴표로 감싸주기

// 처음 변수 선언 : let
// 한 번 선언했으면, 다시 선언하지 않고 값을 넣는다.

let x = 'Hello'
let y = 'World'
console.log(x+y) //HelloWorld
3) 리스트
let a_list = []
let a = ['Noelle','Pauline','Bruno','Ramy']

console.log(a[1]) // Pauline
console.log(a[0]) // Noelle

//리스트 길이 구하기
console.log(a.length) //4
4) 딕셔너리
let a_dict = {}
let b_dict = {'name':'Noelle','age':20}

console.log(b_dict['name']) // Noelle
console.log(b_dict['age']) // 20
+) 리스트와 딕셔너리의 조합
let a = [
	{'name':'Noelle','age':20},
	{'name':'Pauline','age':15},
	{'name':'Bruno','age':28}
]
console.log(a[0]['name']) //Noelle
console.log(a[1]['age']) //15
5) 기타 함수들
let a = 20
let b = 7

a % b = 6 //나눗셈의 나머지

let myemail = 'sparta@gmail.com'
let result = myemail.split('@') // ['sparta','gmail.com'] 특정 문자로 문자열 나누기

result[0] // sparta
result[1] // gmail.com

let result2 = result[1].split('.') // ['gmail','com']

result2[0] // gmail
result2[1] // com

myemail.split('@')[1].split('.')[0] // gmail
4. jQuery 기초 연습 예제
1) jQuery
더보기
- Javascript로도 구현할 수는 있지만 코드가 복잡하고, 브라우저 간 호환성 문제가 있음
- jQuery라는 라이브러리를 이용해서 코드를 짜면 편리하다.
- https://www.w3schools.com/jquery/jquery_get_started.asp
jQuery Get Started
W3Schools offers free online tutorials, references and exercises in all the major languages of the web. Covering popular subjects like HTML, CSS, JavaScript, Python, SQL, Java, and many, many more.
www.w3schools.com
<head>
<script src="https://ajax.googleapis.com/ajax/libs/jquery/3.6.4/jquery.min.js"></script>
</head>- 위 코드를 head 태그에 넣어주자.
- jQuery에서는 선택자로 id 값을 쓴다. id값으로 가리켜서 적용하도록 해보자!
2) 변수, 리스트, 딕셔너리 연습 예제
더보기
<!DOCTYPE html>
<html>
    <head>
        <title>JS with jQuery</title>
        <script src="https://ajax.googleapis.com/ajax/libs/jquery/3.4.1/jquery.min.js"></script>
    </head>
    <style>.button-part {
            display: flex;
            height: 50px;
        }
    </style>
    <script>

    </script>
    <body>
        <div class="top-part">
            <h1>Javascript Practice</h1>
        </div>
        <hr/>
        <br>
        <h2>1. 함수</h2>
        <div class="button-part">
            <button onclick="checkResult()">결과 확인</button>
        </div>
        <div class="list-part">
            <h2>2. 리스트</h2>
            <div id="q1"></div>
        </div>
        <div class="dict-part">
            <h2>3. 딕셔너리</h2>
            <div id="q2"></div>
        </div>
        <div>
            <h2>4. 리스트 딕셔너리</h2>
            <div id="q3"></div>
        </div>
    </body>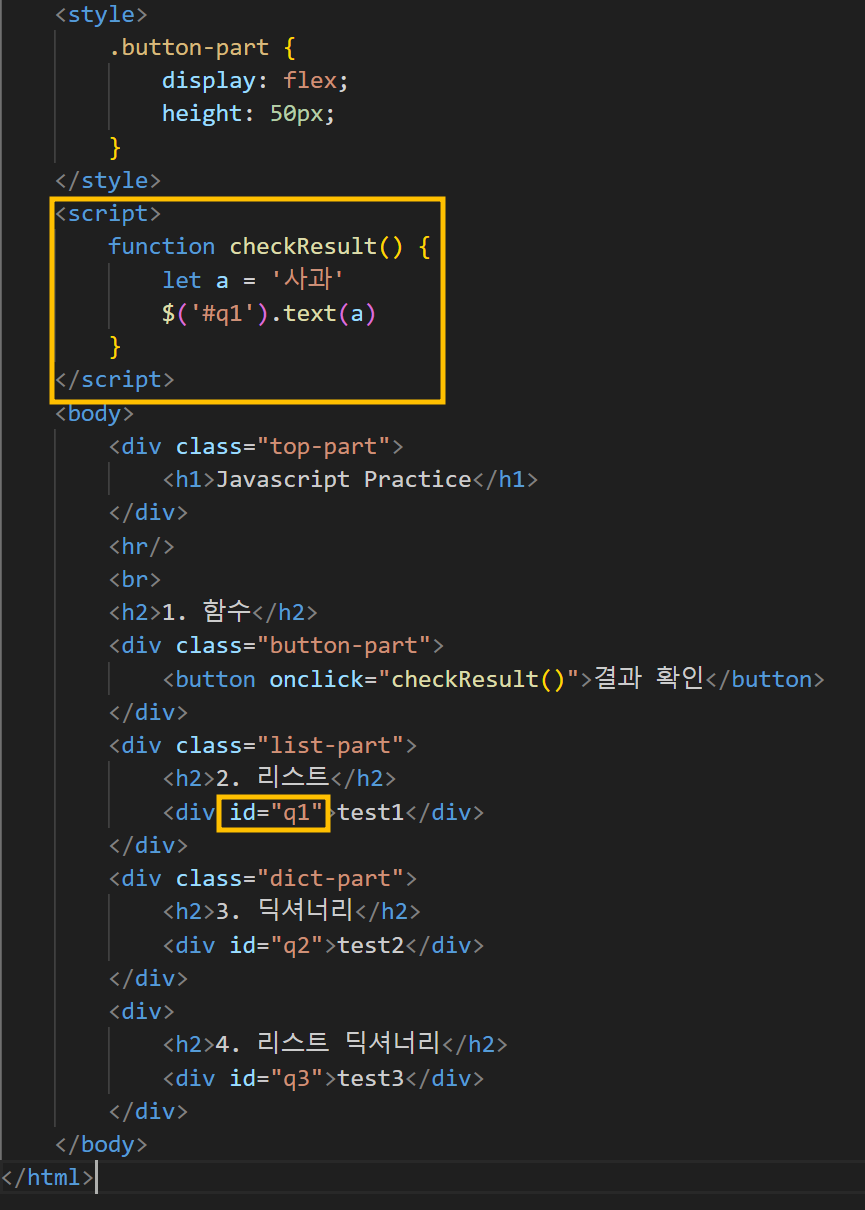
</html>- script 태그에 함수를 선언해서 alert 띄워보기
- id를 지정한 각 div 안에 문자열을 넣어두고, 버튼의 함수를 통해서 내용 바꿔보기!
<!DOCTYPE html>
<html>
<head>
<title>JS with jQuery</title>
<script src="https://ajax.googleapis.com/ajax/libs/jquery/3.4.1/jquery.min.js"></script>
</head>
<style>.button-part {
display: flex;
height: 50px;
}
</style>
<script>function checkResult() {
let a = '사과'
$('#q1').text(a)
}
</script>
<body>
<div class="top-part">
<h1>Javascript Practice</h1>
</div>
<hr/>
<br>
<h2>1. 함수</h2>
<div class="button-part">
<button onclick="checkResult()">결과 확인</button>
</div>
<div class="list-part">
<h2>2. 리스트</h2>
<div id="q1">test1</div>
</div>
<div class="dict-part">
<h2>3. 딕셔너리</h2>
<div id="q2">test2</div>
</div>
<div>
<h2>4. 리스트 딕셔너리</h2>
<div id="q3">test3</div>
</div>
</body>
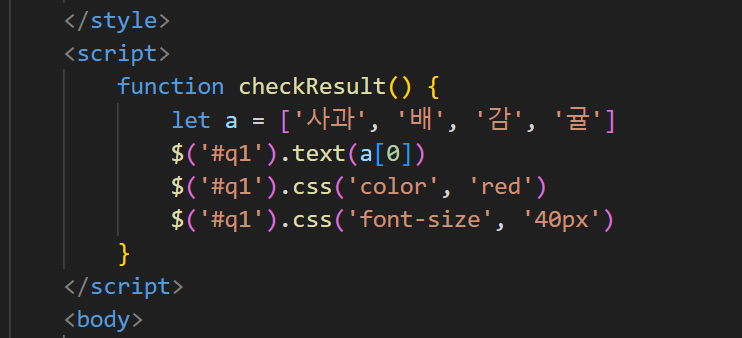
</html>let a = 'Noelle'
$('#id').text(a)- $('#id').css('color', 'red') : 색깔을 빨간색으로 바꾸기
$('#id').css('font-size', '40px') : 글씨 크기 40px로 바꾸기
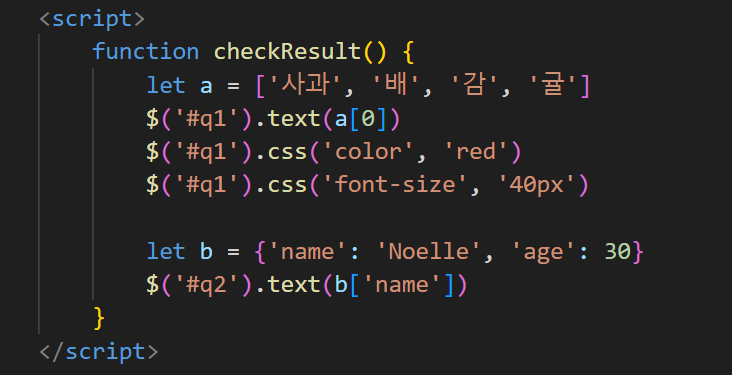
- 딕셔너리는 키 값을 통해서 불러줄 수 있다.
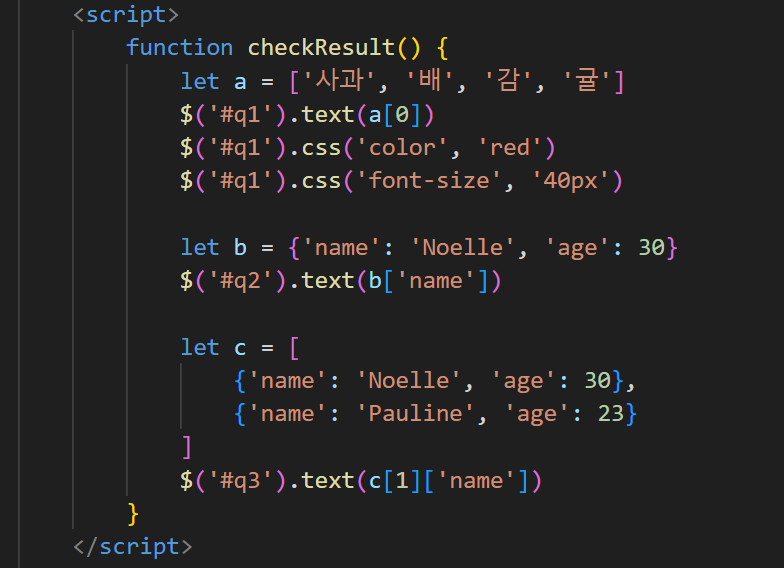
- 리스트와 딕셔너리의 조합
5. jQuery 반복문 & 조건문
더보기
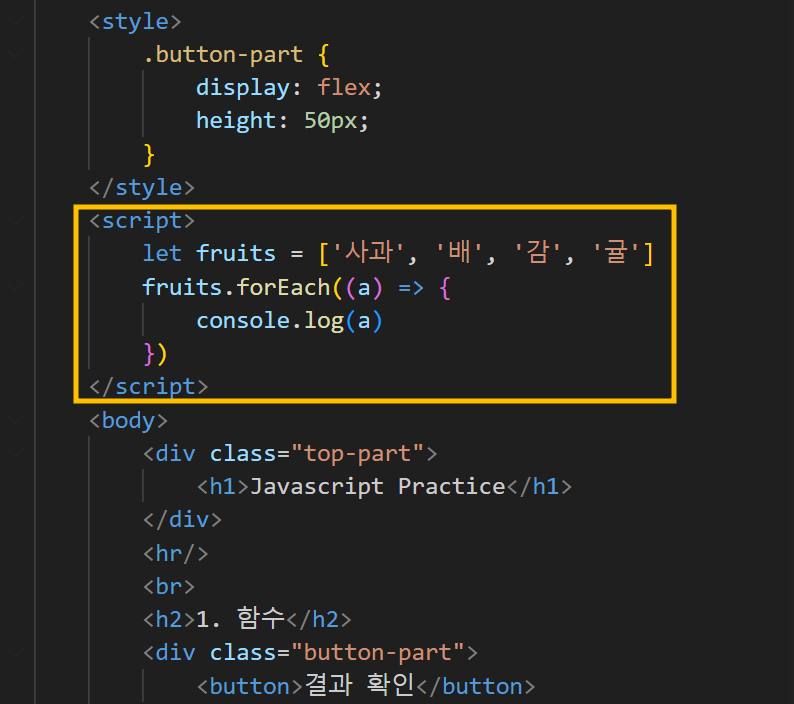
1) 반복문
- 리스트 정보가 있으면 ➡️ 반복문으로 뽑아보기!
name.forEach((a) => {
	console.log(a)
})
// name 의 요소를 하나씩 확인
// a는 어떤 걸로 해도 괜찮다.
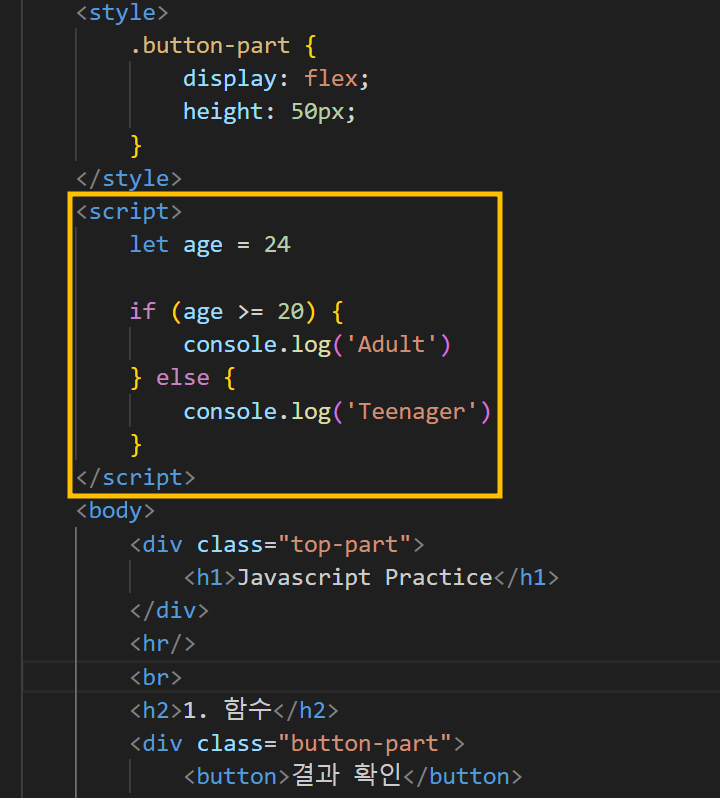
2) 조건문
if (조건) {
	// 조건이 참일 경우
} else {
	// 아닐 경우
}
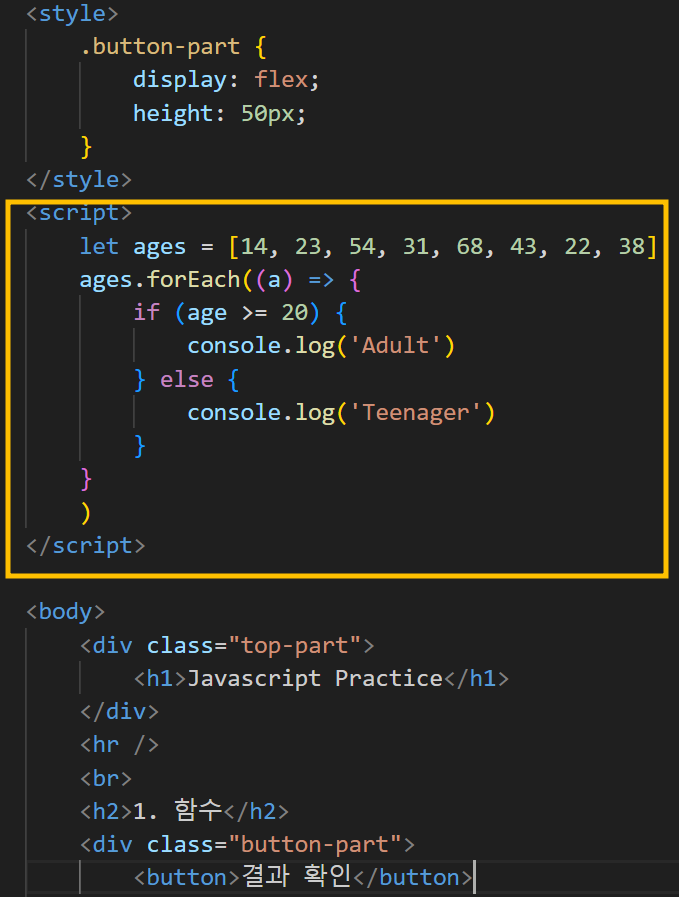
3) 반복문 + 조건문
let ages = [12,15,20,25,17,37,24]

ages.forEach((a)=> {
	if (a >= 20) {
		console.log('Adult')
	} else {
		console.log('Teenager')
	}
})
6. jQuery append
1) append 활용법
더보기
- append는 temp_html을 이용해서 새로운 내용을 화면에 추가해줄 수 있는 문법이다.
- let temp_html = `<p>${a}</p>` : temp_html에 백틱을 이용해서 수정하고 싶은 내용을 넣어주고
- $('#id').append(temp_html) : 해당 id 값에 append로 넣어준다!
- 여기에 초기에 있던 값을 없애주려면 empty()를 앞에 달아준다.
function checkResult() {
    $('#q1').empty()
    let students = ['Cindy', 'Paul', 'Jack', 'Rose', 'Liam', 'Sam']
    students.forEach((a) => {
        let temp_html = `<p>${a}</p>`
        $('#q1').append(temp_html)
    })
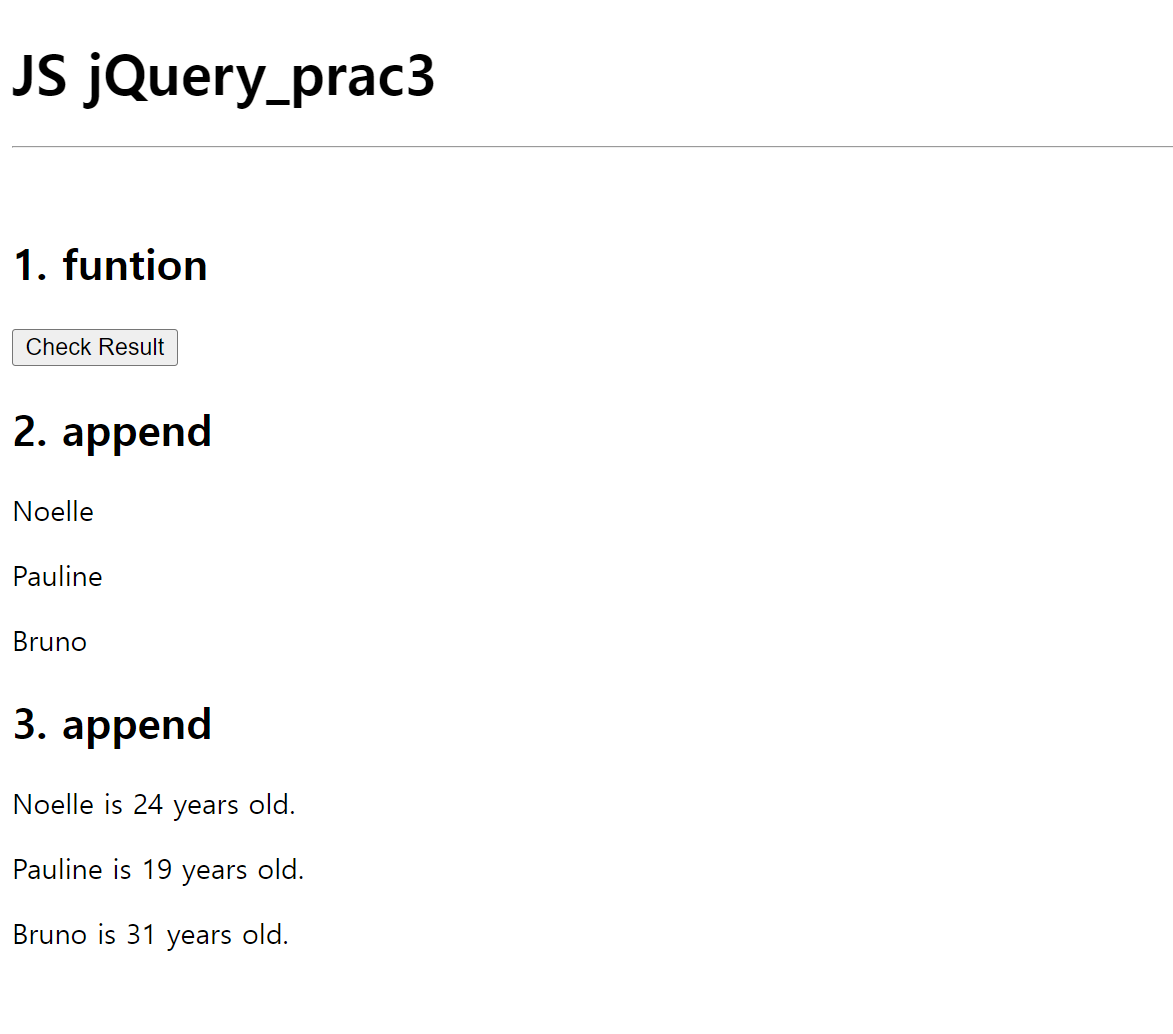
2) 연습 예제1
더보기
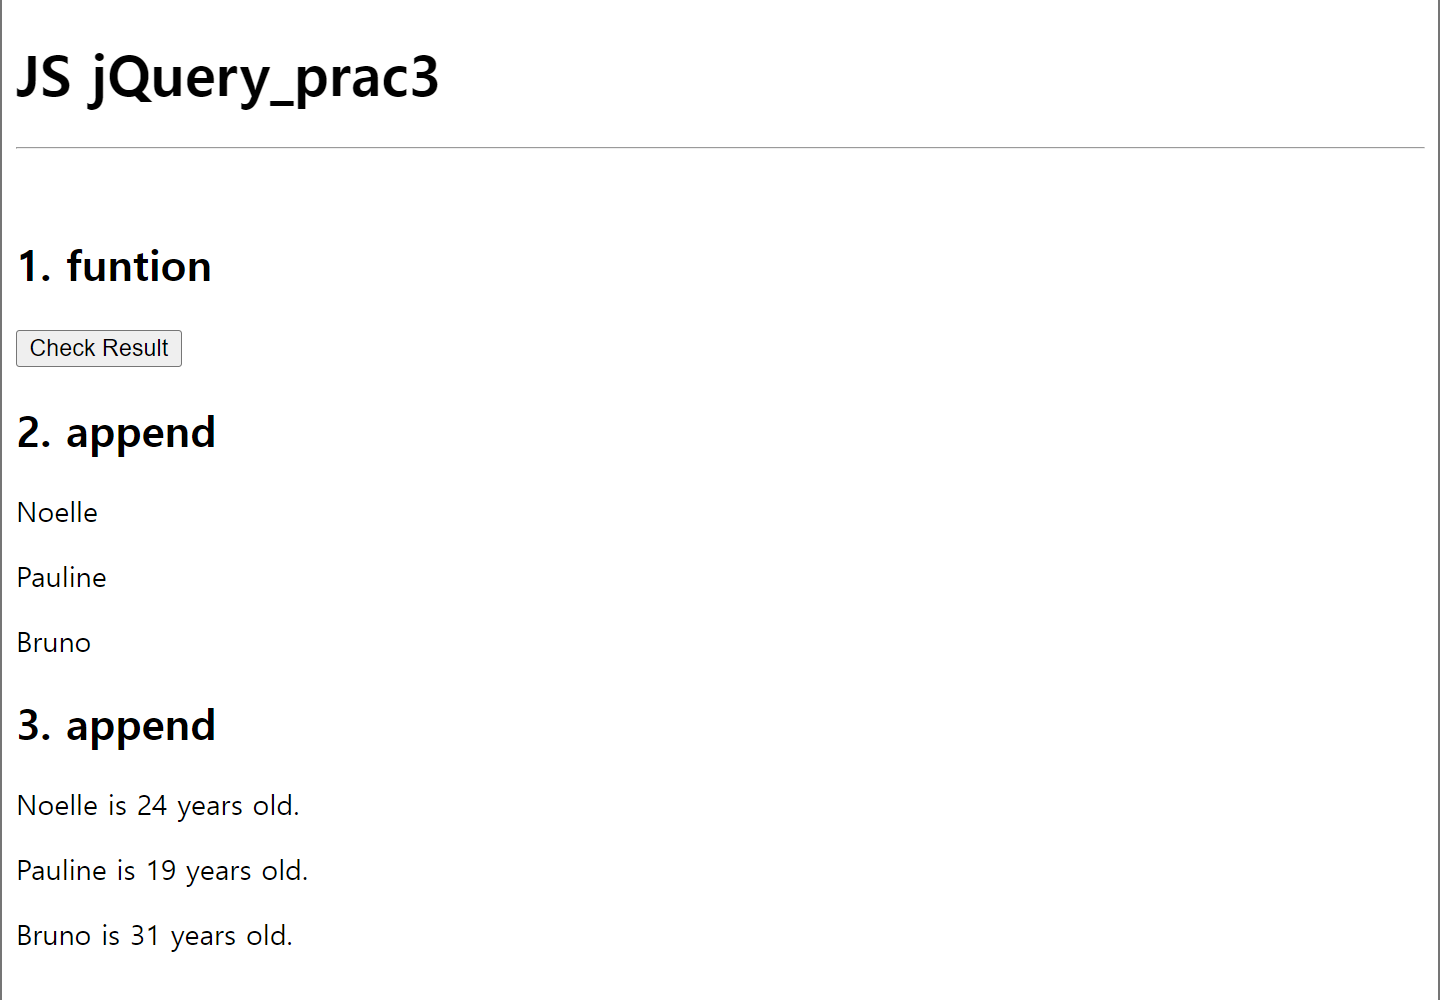
- 함수를 이용해서 버튼을 누르면 id="q1" 부분에 새로운 이름 넣기
<!DOCTYPE html>
<html>

<head>
    <title>jQuery_parc3</title>
    <script src="https://ajax.googleapis.com/ajax/libs/jquery/3.4.1/jquery.min.js"></script>
</head>
<script>function checkResult() {
        $('#q1').empty()
        let students = ['Cindy', 'Paul', 'Jack', 'Rose', 'Liam', 'Sam']
        students.forEach((a) => {
            let temp_html = `<p>${a}</p>`
            $('#q1').append(temp_html)
        })
    }
</script>

<body>
    <div class="top-part">
        <h1>JS jQuery_prac3</h1>
    </div>
    <hr />
    <br>
    <h2>1. funtion</h2>
    <div class="button-part">
        <button onclick="checkResult()">Check Result</button>
    </div>
    <div class="list-part">
        <h2>2. append</h2>
        <div id="q1">
            <p>Noelle</p>
            <p>Pauline</p>
            <p>Bruno</p>
        </div>
    </div>
    <div class="list-part">
        <h2>3. append</h2>
        <div id="q2">
            <p>Noelle is 24 years old.</p>
            <p>Pauline is 19 years old.</p>
            <p>Bruno is 31 years old.</p>
        </div>
    </div>
</body>

</html>
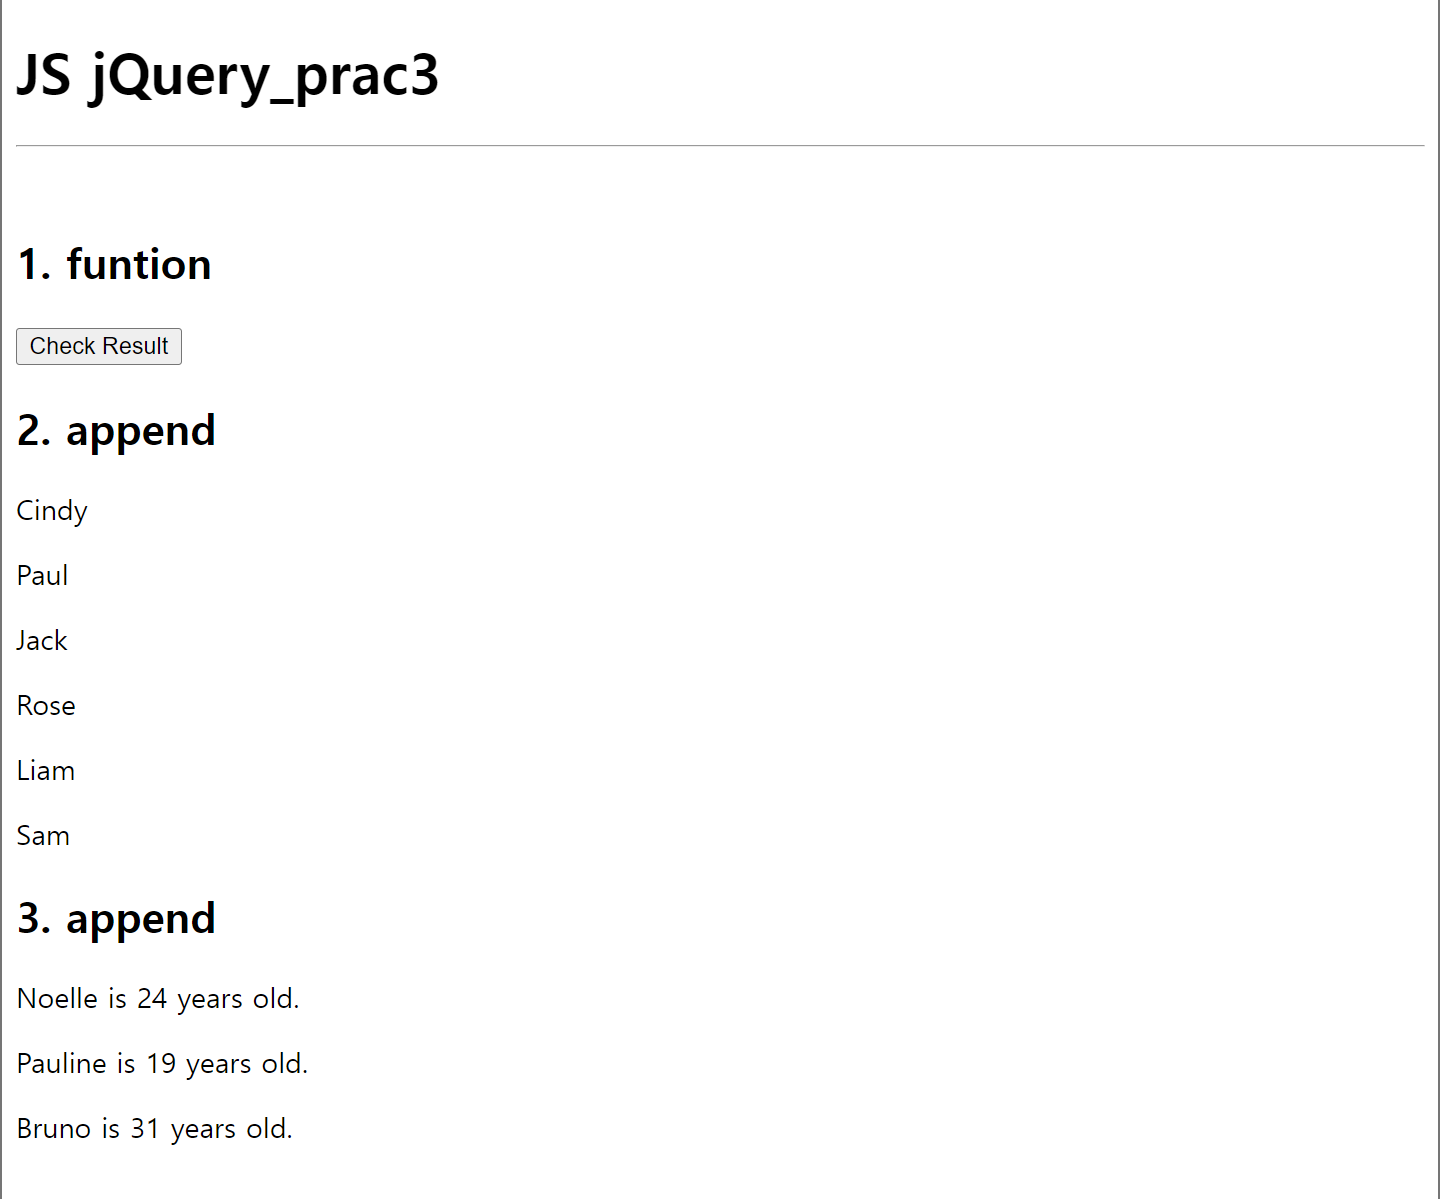
3) 연습예제 2
더보기
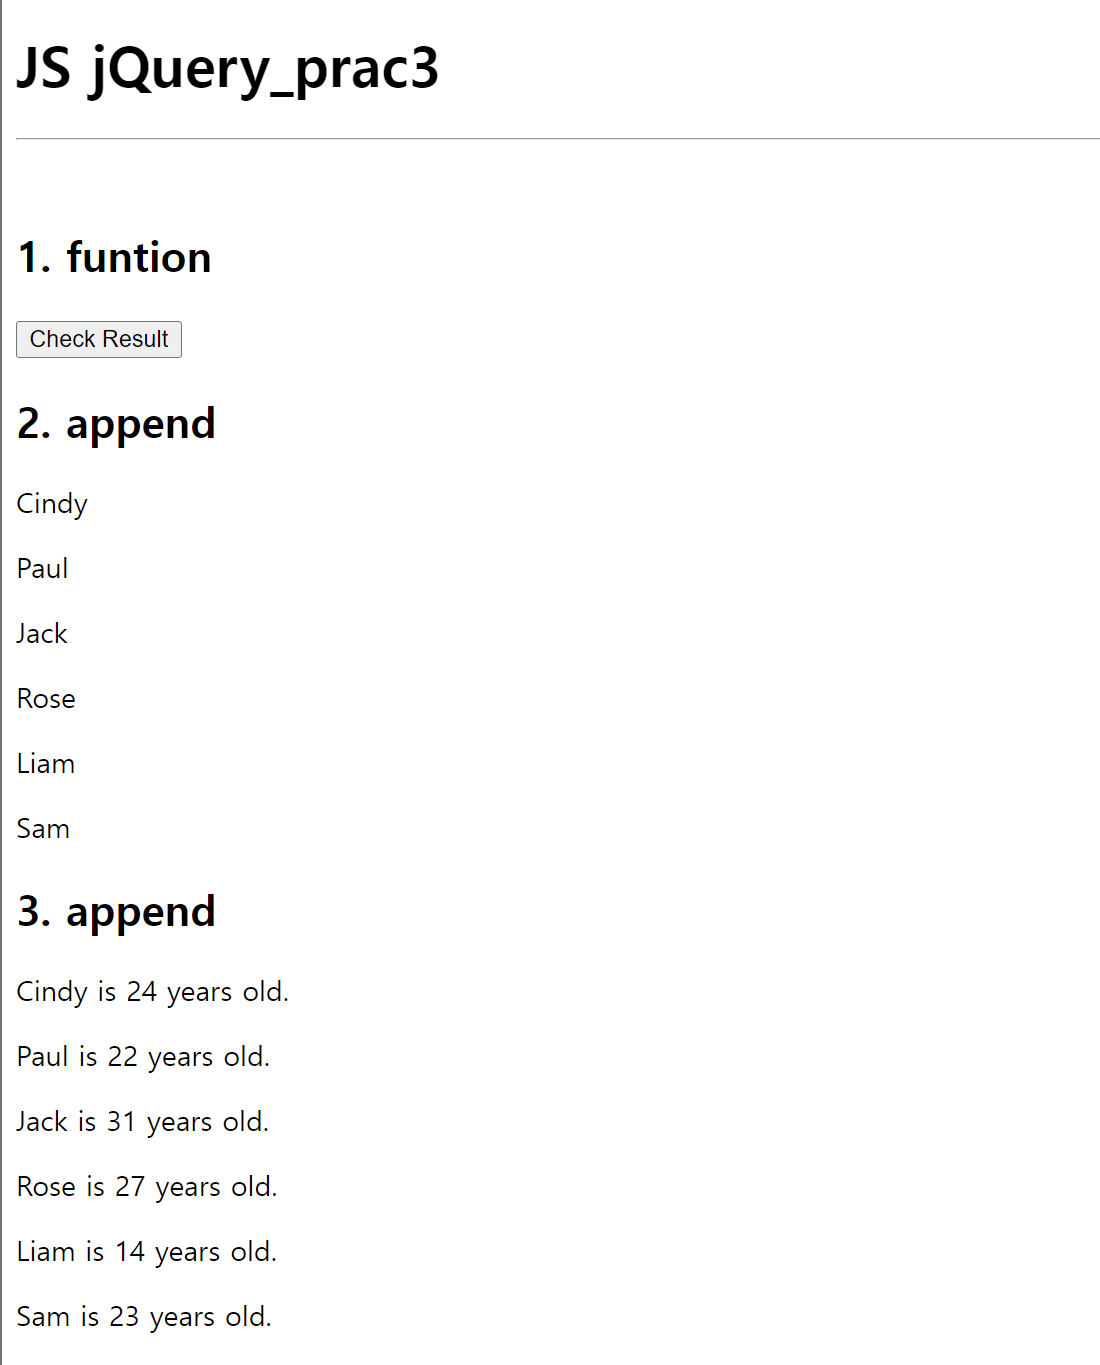
- 함수 버튼을 이용해서 id="q2"의 내용을 이름과 나이만 바꿔보자.
- temp_html 안에 들어가는 값은 ${}
- $('#id').append(temp_html) 로 해당 id에 붙여넣기!
<!DOCTYPE html>
<html>

<head>
    <title>jQuery_parc3</title>
    <script src="https://ajax.googleapis.com/ajax/libs/jquery/3.4.1/jquery.min.js"></script>
</head>
<script>
    function checkResult() {
        $('#q1').empty()
        let students = ['Cindy', 'Paul', 'Jack', 'Rose', 'Liam', 'Sam']
        students.forEach((a) => {
            let temp_html = `<p>${a}</p>`
            $('#q1').append(temp_html)
        })

        $('#q2').empty()
        let stu_age = [
            {'name' : 'Cindy', 'age': 24},
            {'name' : 'Paul', 'age': 22},
            {'name' : 'Jack', 'age': 31},
            {'name' : 'Rose', 'age': 27},
            {'name' : 'Liam', 'age': 14},
            {'name' : 'Sam', 'age': 23}
        ]
        stu_age.forEach((a) => {
            let temp_html = `<p>${a['name']} is ${a['age']} years old.</p>`
            $('#q2').append(temp_html)
        })
    }
</script>

<body>
    <div class="top-part">
        <h1>JS jQuery_prac3</h1>
    </div>
    <hr />
    <br>
    <h2>1. funtion</h2>
    <div class="button-part">
        <button onclick="checkResult()">Check Result</button>
    </div>
    <div class="list-part">
        <h2>2. append</h2>
        <div id="q1">
            <p>Noelle</p>
            <p>Pauline</p>
            <p>Bruno</p>
        </div>
    </div>
    <div class="list-part">
        <h2>3. append</h2>
        <div id="q2">
            <p>Noelle is 24 years old.</p>
            <p>Pauline is 19 years old.</p>
            <p>Bruno is 31 years old.</p>
        </div>
    </div>
</body>

</html>